Configure Your Project
Congratulations on creating your new project in Clustta!
This section will guide you through the essential steps to configure your project.
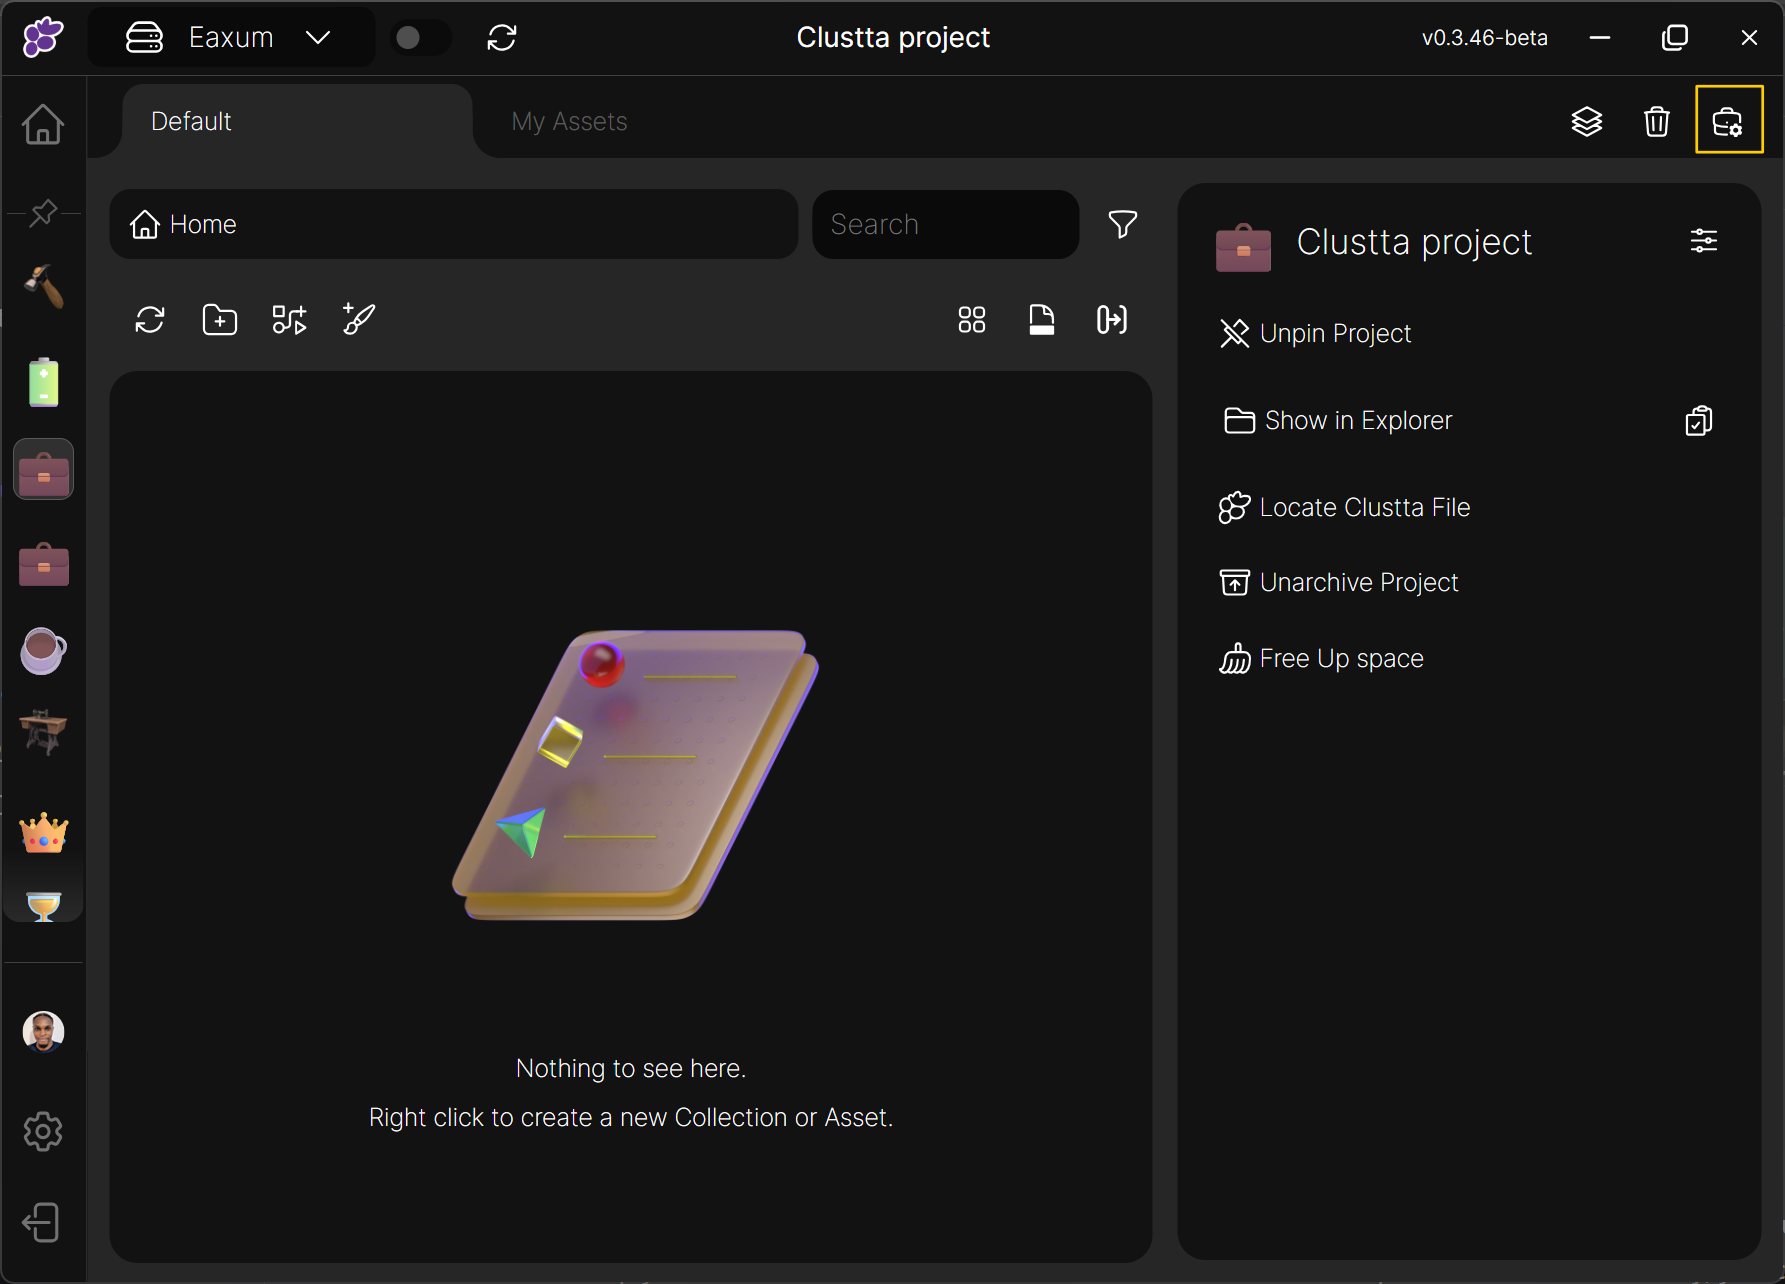
You can access the project configuration page by clicking the settings icon located at the top right of your project browser interface, as shown in the image below:
Overview
The project settings area allows you to add collaborators, set roles, asset templates as well as custom metadata for use while the project is running.
In this section, we'll cover:
- Asset Templates
- Managing Collaborators
- Customizing Roles and Permissions
- Defining Asset and Collection Types
- Managing the Ignore List
Asset Templates
Asset templates are a powerful feature in Clustta that allow you to pre-define and store starter files. Instead of repeatedly creating new files from scratch within your applications, you can leverage templates to instantly generate new assets with pre-configured content or settings.
Before you start: Generating template files
Open the software you would like to create a template for. You can set the default file parameters you want to always have - e.g File resolution, Canvas dimensions, layers etc and then save this file anywhere.
When prompted to select a template from clustta, you can select this file and delete it afterwards. Clustta only needs to reference this once and then it will be stored within Clustta itself.
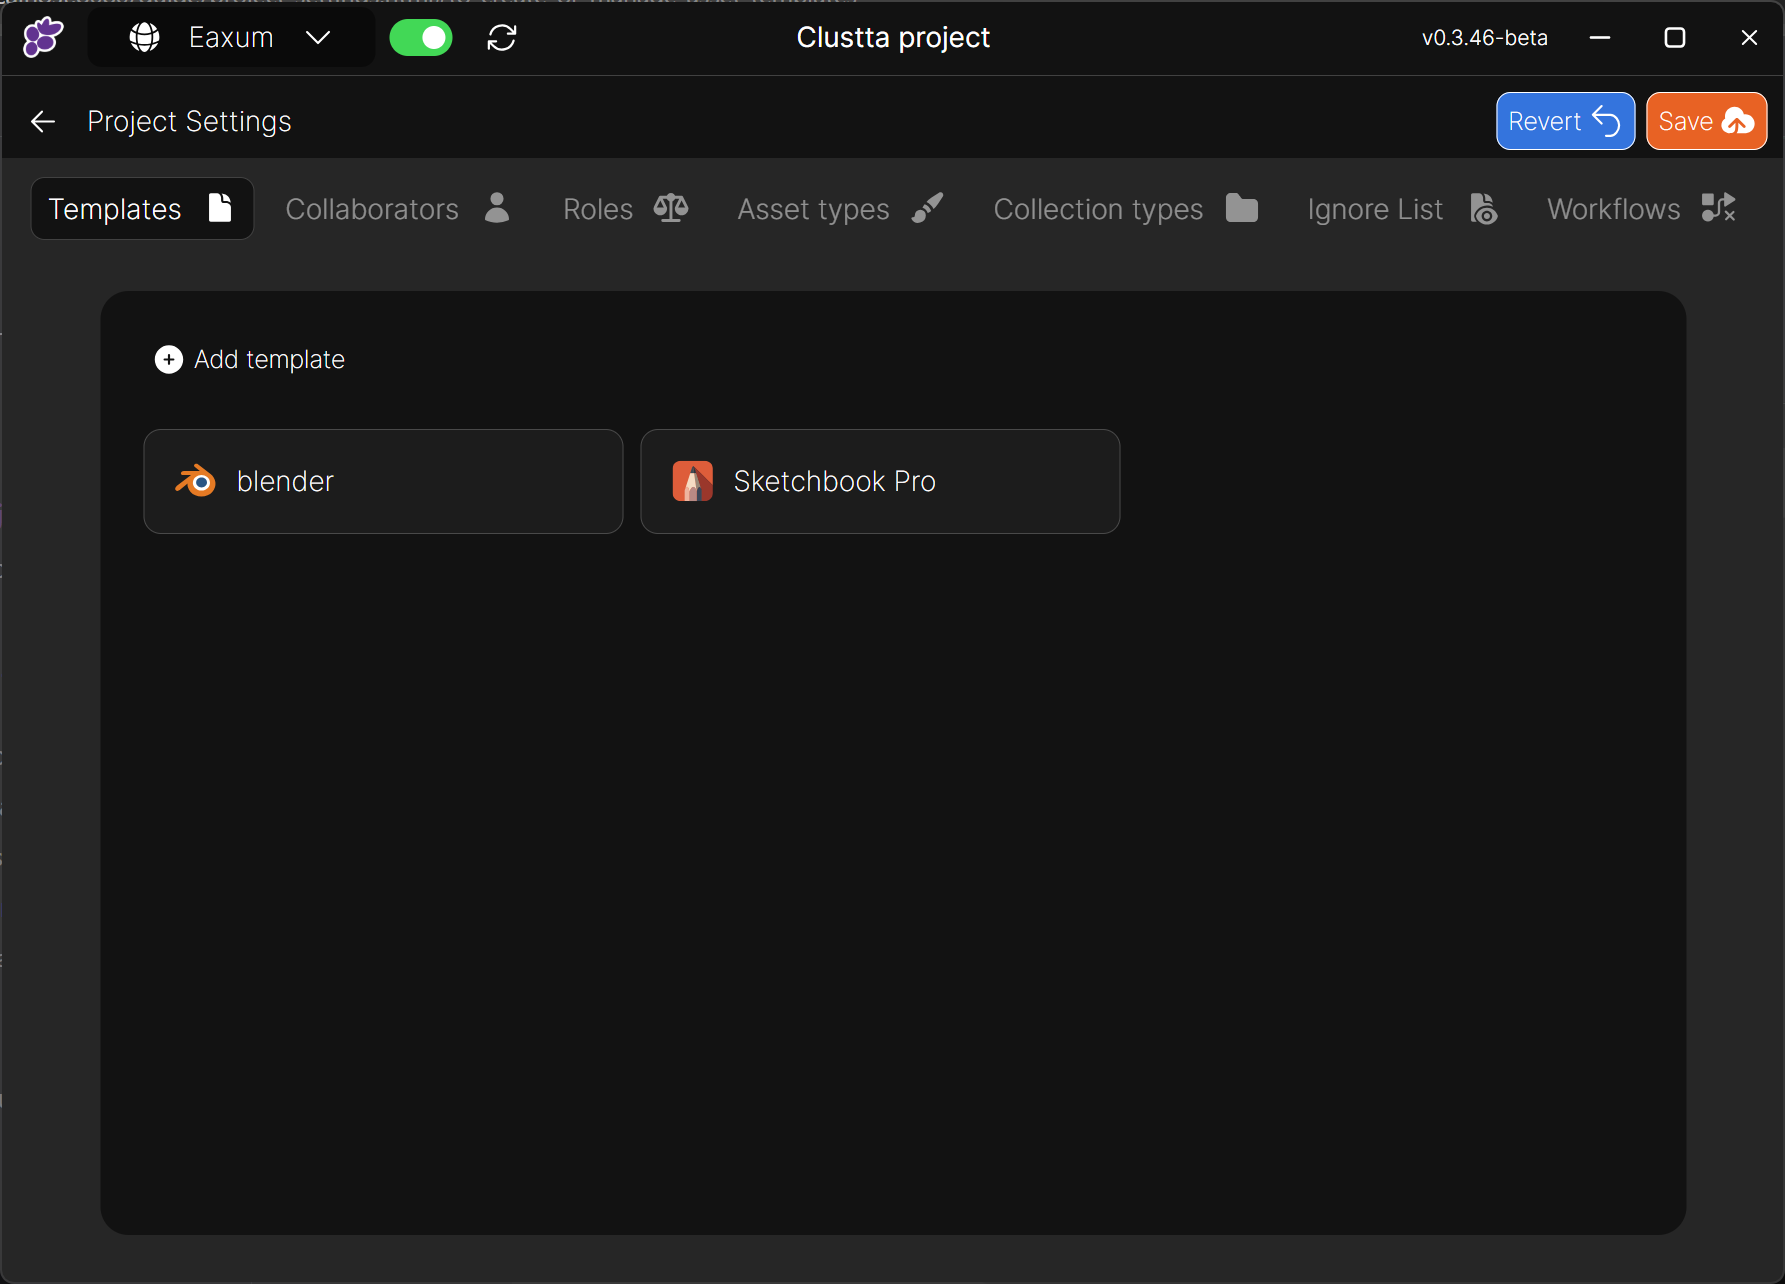
To Create or Manage Asset Templates:
- Navigate to the "Templates" tab on your project configuration page.
- To create a new template, click on the "Add Template" button.
- A popup modal will appear. In this modal:
- Enter a descriptive name for your template in the designated field. This name will help you easily identify the template later.
- Select the file you wish to use as the basis for your template. This file will be copied whenever you create a new asset from this template.
- Click "Create" to save your new template. It will now be listed in your project's templates.
- Once saved, you'll be able to create new assets directly from this template within your project interface, eliminating the need to launch external applications for basic file creation.
To use the templates in your project, see Creating Assets using templates.
Collaborators
Before adding collaborators to a project, you first need to add them to your studio via the Clustta web dashboard. If you haven't done that, check out Adding Collaborators to your studio.
- In the project settings page, switch to the Collaborators tab.
- Click on the "Add Collaborator" button.
- Start typing the name or email address of the user into the input field. Clustta will provide suggestions as you type.
- Select the desired user(s) from the suggestions.
- From the dropdown menu below the input field, select the role you wish to assign to the selected user(s) for this specific project.
Pro Tip: Add Multiple Collaborators at Once!
You can add multiple users simultaneously instead of adding them one by one, streamlining your setup process.
Roles and Permissions
Roles are fundamental to effective team dynamics, defining the responsibilities and access levels for each team member within your project.
To configure roles and permissions:
- Switch to the "Roles" tab on the project configuration page.
- Clustta provides six default roles to get you started. You have the flexibility to add new roles or delete existing ones as needed.
- Note: The "Admin" role is a fixed role and cannot be deleted or modified to ensure core project management capabilities.
- To modify permissions for an existing role, hover over the role name. A pen icon will appear. Click this icon to open the permission editor.
- After making your desired changes to the role's permissions, click "Update" to save your modifications.
- To create an entirely new role, click the "Add Role" button.
Asset and Collection Types
Asset and Collection types are powerful tools for categorizing your files (assets) and folders (collections), significantly improving organization, filtration, and search capabilities within your project.
To manage asset and collection types:
- Switch to either the "Asset Types" tab or the "Collection Types" tab on the project configuration page.
- To add a new type, click on the "Add" button.
- To modify an existing type, hover over the type name. A pen icon will appear. Click this icon to edit the type.
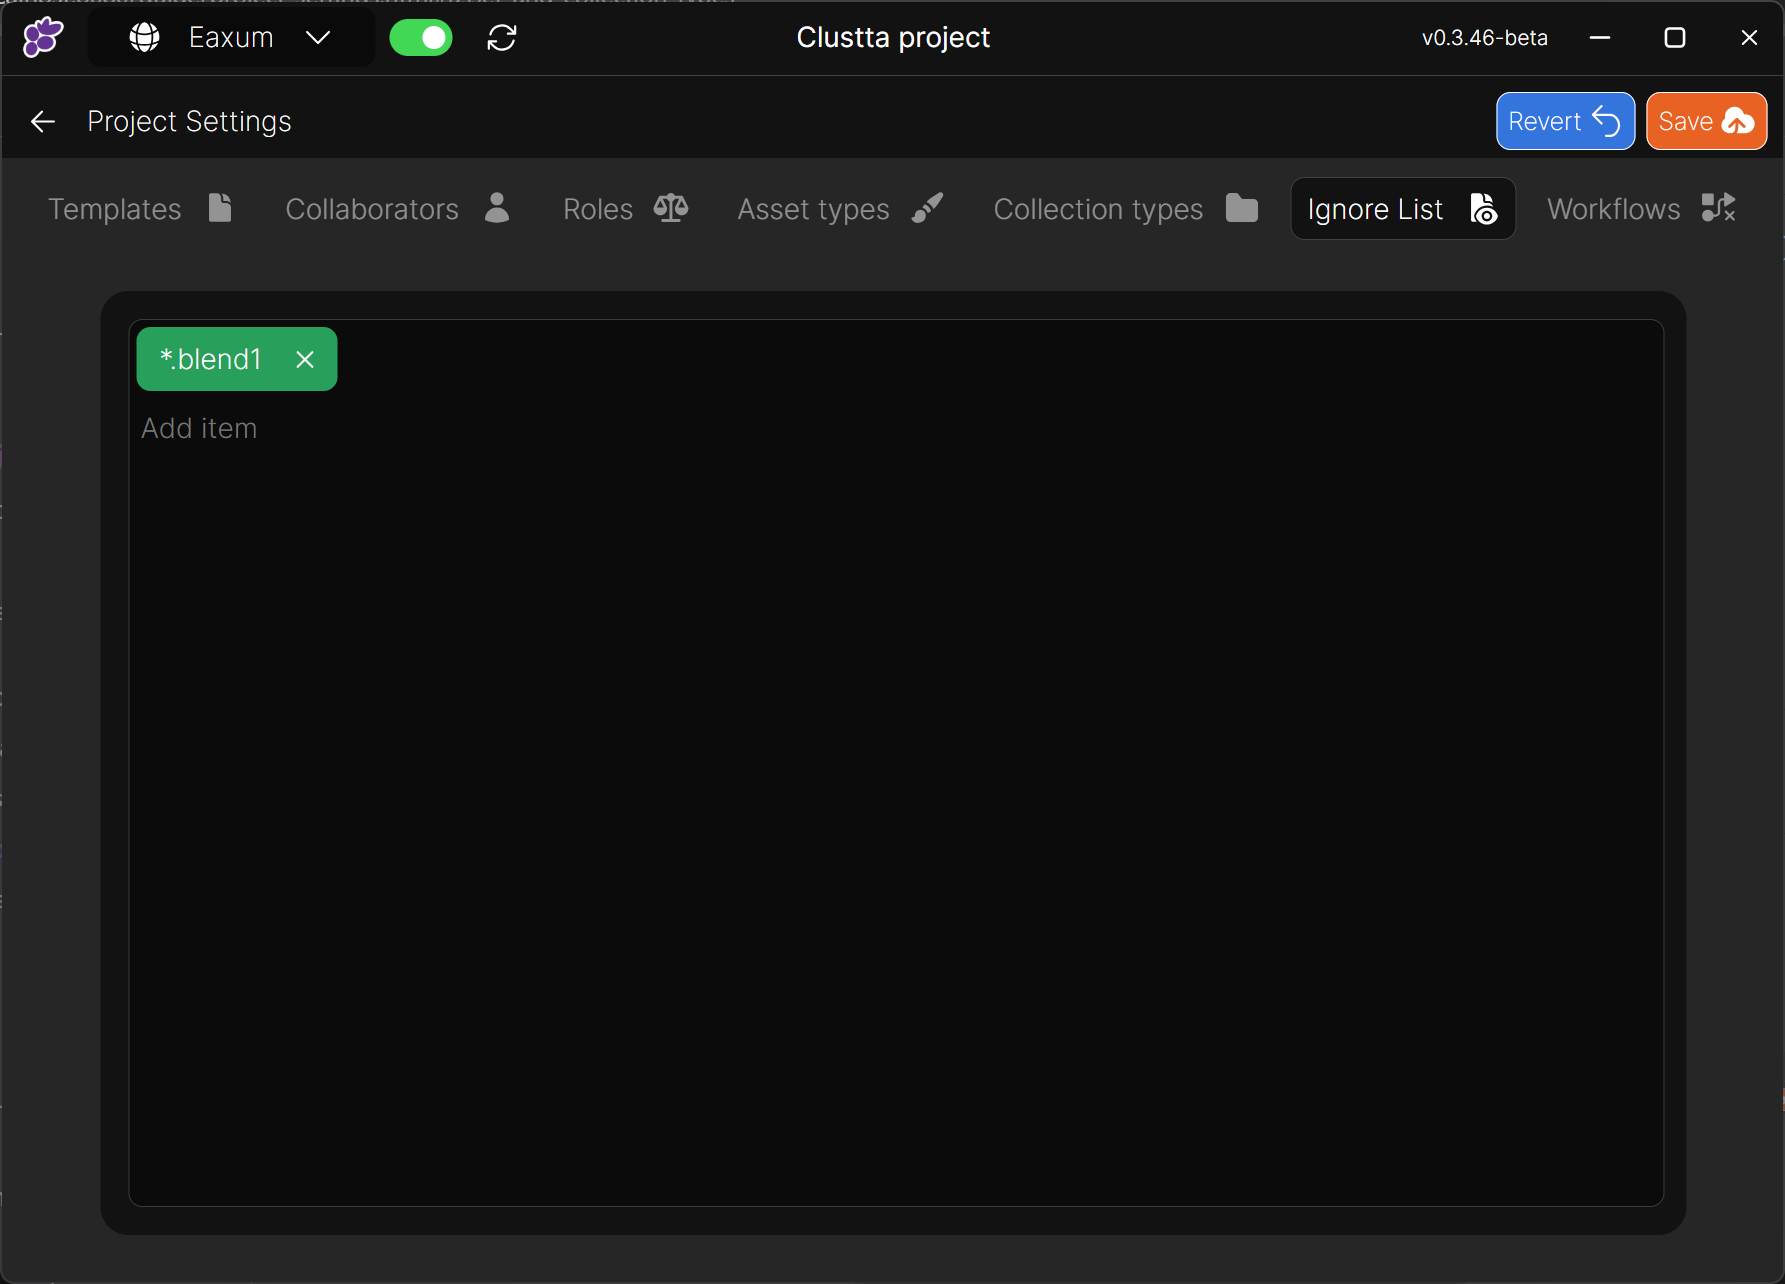
Ignore List
The ignore list allows you to exclude specific files and or folders that are not relevant to your project from being tracked or versioned by Clustta. This helps keep your project clean and focused.
With Clustta, you can create and manage your customized exclusion list with just a few clicks.
Just type in the extension, file or folder path you want to ignore and hit Enter.