
Getting Started
You can access Clustta primarily through two interfaces:
- The Web dashboard
- The desktop application, available on the Microsoft Store and the Mac App Store.
The web dashboard (Under construction)
The web dashboard is an application you can access from any web browser at app.clustta.com. Its your central hub for managing your personal account and studio. From here, you can:
- Create and manage your personal account.
- Create and manage your studios.
- Administer studio collaborators.
- Create and manage projects.
Manage your account
Create an account
- Visit the Web dashboard
- Input your details to sign up for an account.
Update your account details
- Login to the Web dashboard
- Click on your profile photo at the top right corner of the page - a menu will fly out.
- Click on the Account button.
- Click the Edit Profile button, edit yout details and then click Save Changes.
Manage your Studio
Studios are spaces for your projects and teams. You can have as many studios as you want and each studio can have as many projects as possible.
Create a Studio
- Login to the Web dashboard
- You'll find the Create a studio button located in the top-left corner, click it.
- Input a name for your studio and then click Create to proceed.
Adding Collaborators to your studio
To collaborate with anyone on a Clustta project, you need to add them to your studio first before they can be available for addition to a project.
Sign up required
Each collaborator needs to have signed up to Clustta before you can add them to the studio or project.
- Navigate to the Web dashboard and log in to your studio.
- Once logged in, switch to the Collaborators tab by clicking on the Collaborators icon on the left sidepane
 .
. - Click on the "Add Collaborator" button.
- Type the email address of the user into the input field.
- From the dropdown menu below the input field, select the role you wish to assign to the selected user in this studio.
Info: Studio roles
There are currently two types of roles you can assign to a collaborator on a studio level:
- Admin: This gives the collaborator full administrative access to the entire studio. They can add and remove other collaborators as well as create and delete projects.
- User: This grants basic priviledges to only access projects they have been added to.
To add collaborators to a project, check out Adding Collaborators to your project.
The desktop application
This interface lets you access, share, and manage all your project files locally on your computer.
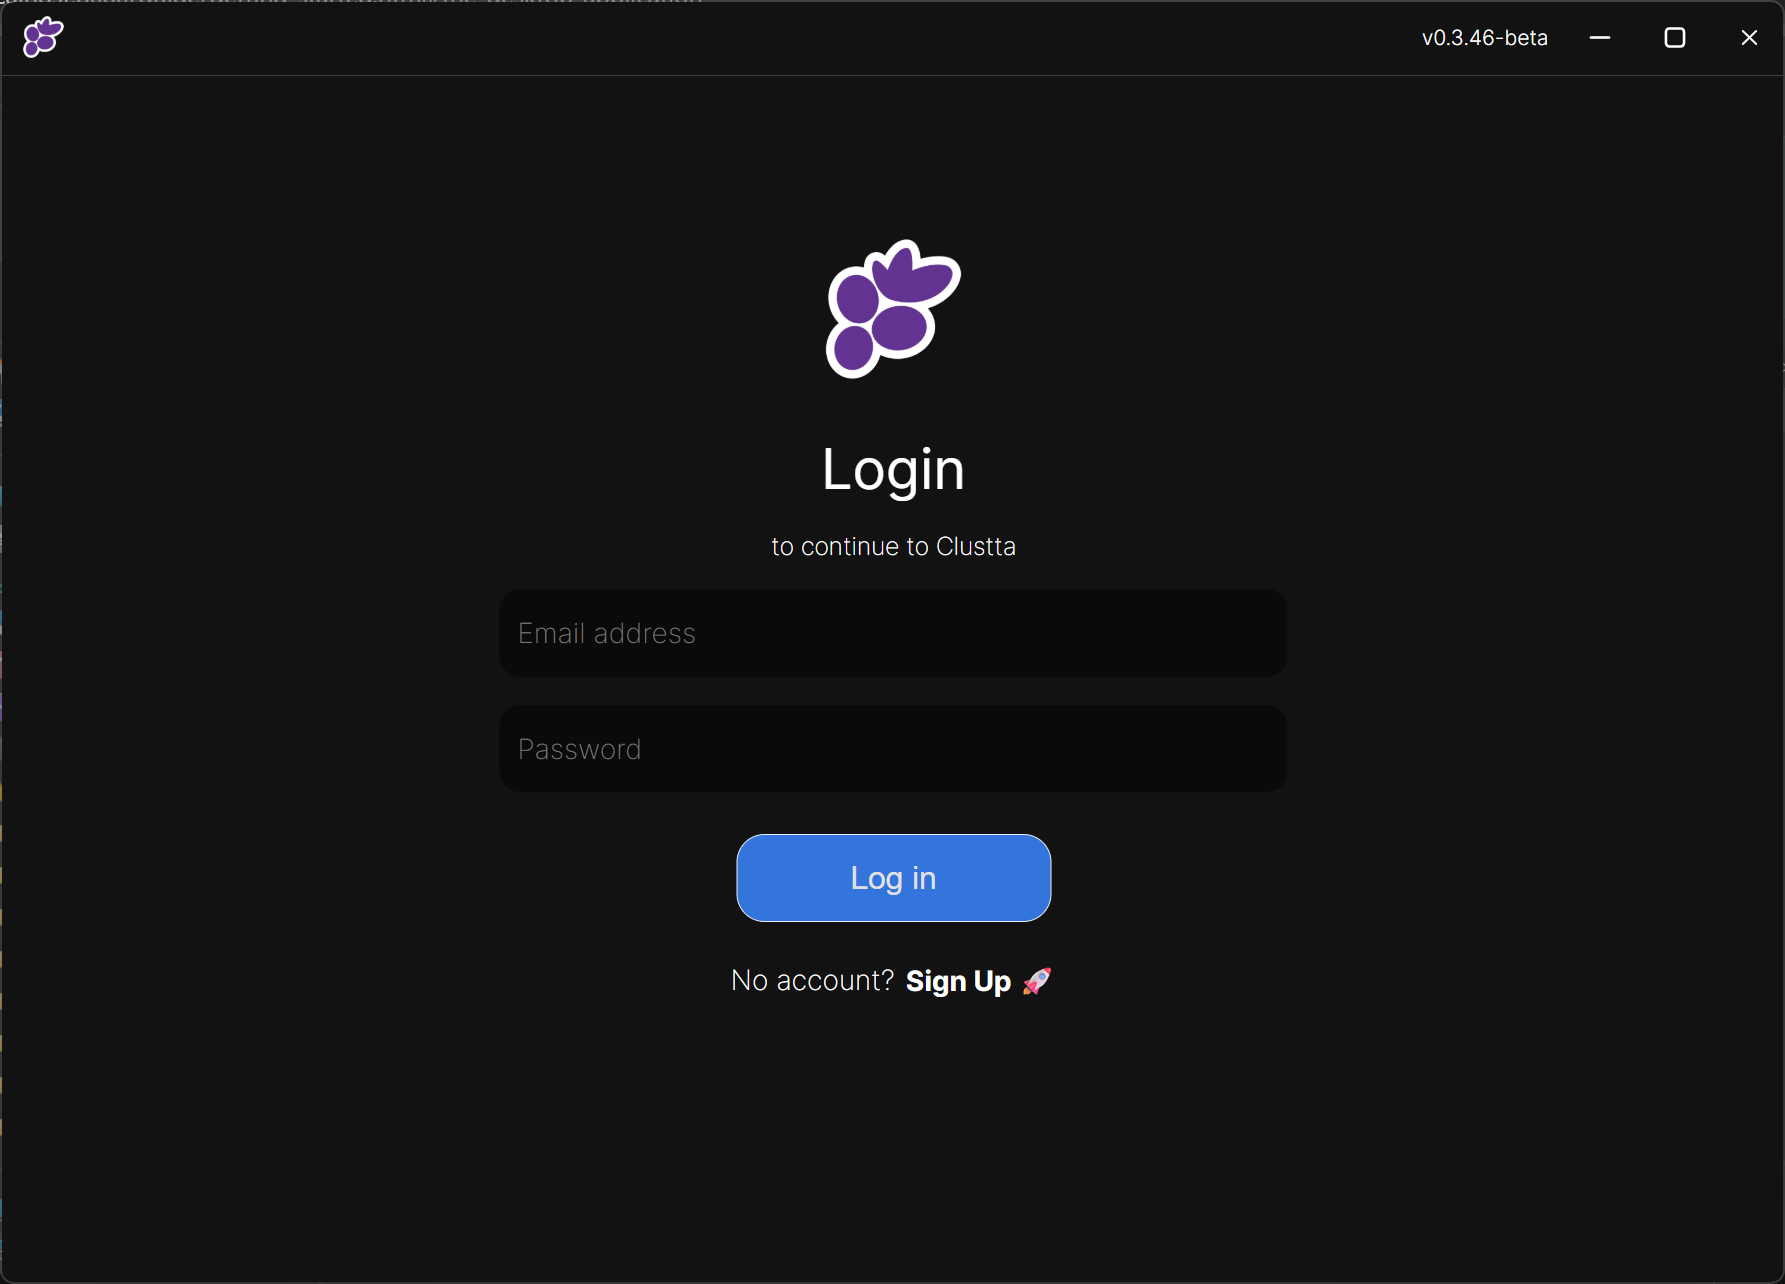
- Install the Clustta desktop app from the Apple App Store or Microsoft Store.
- If you've already created an account, log in with your details.
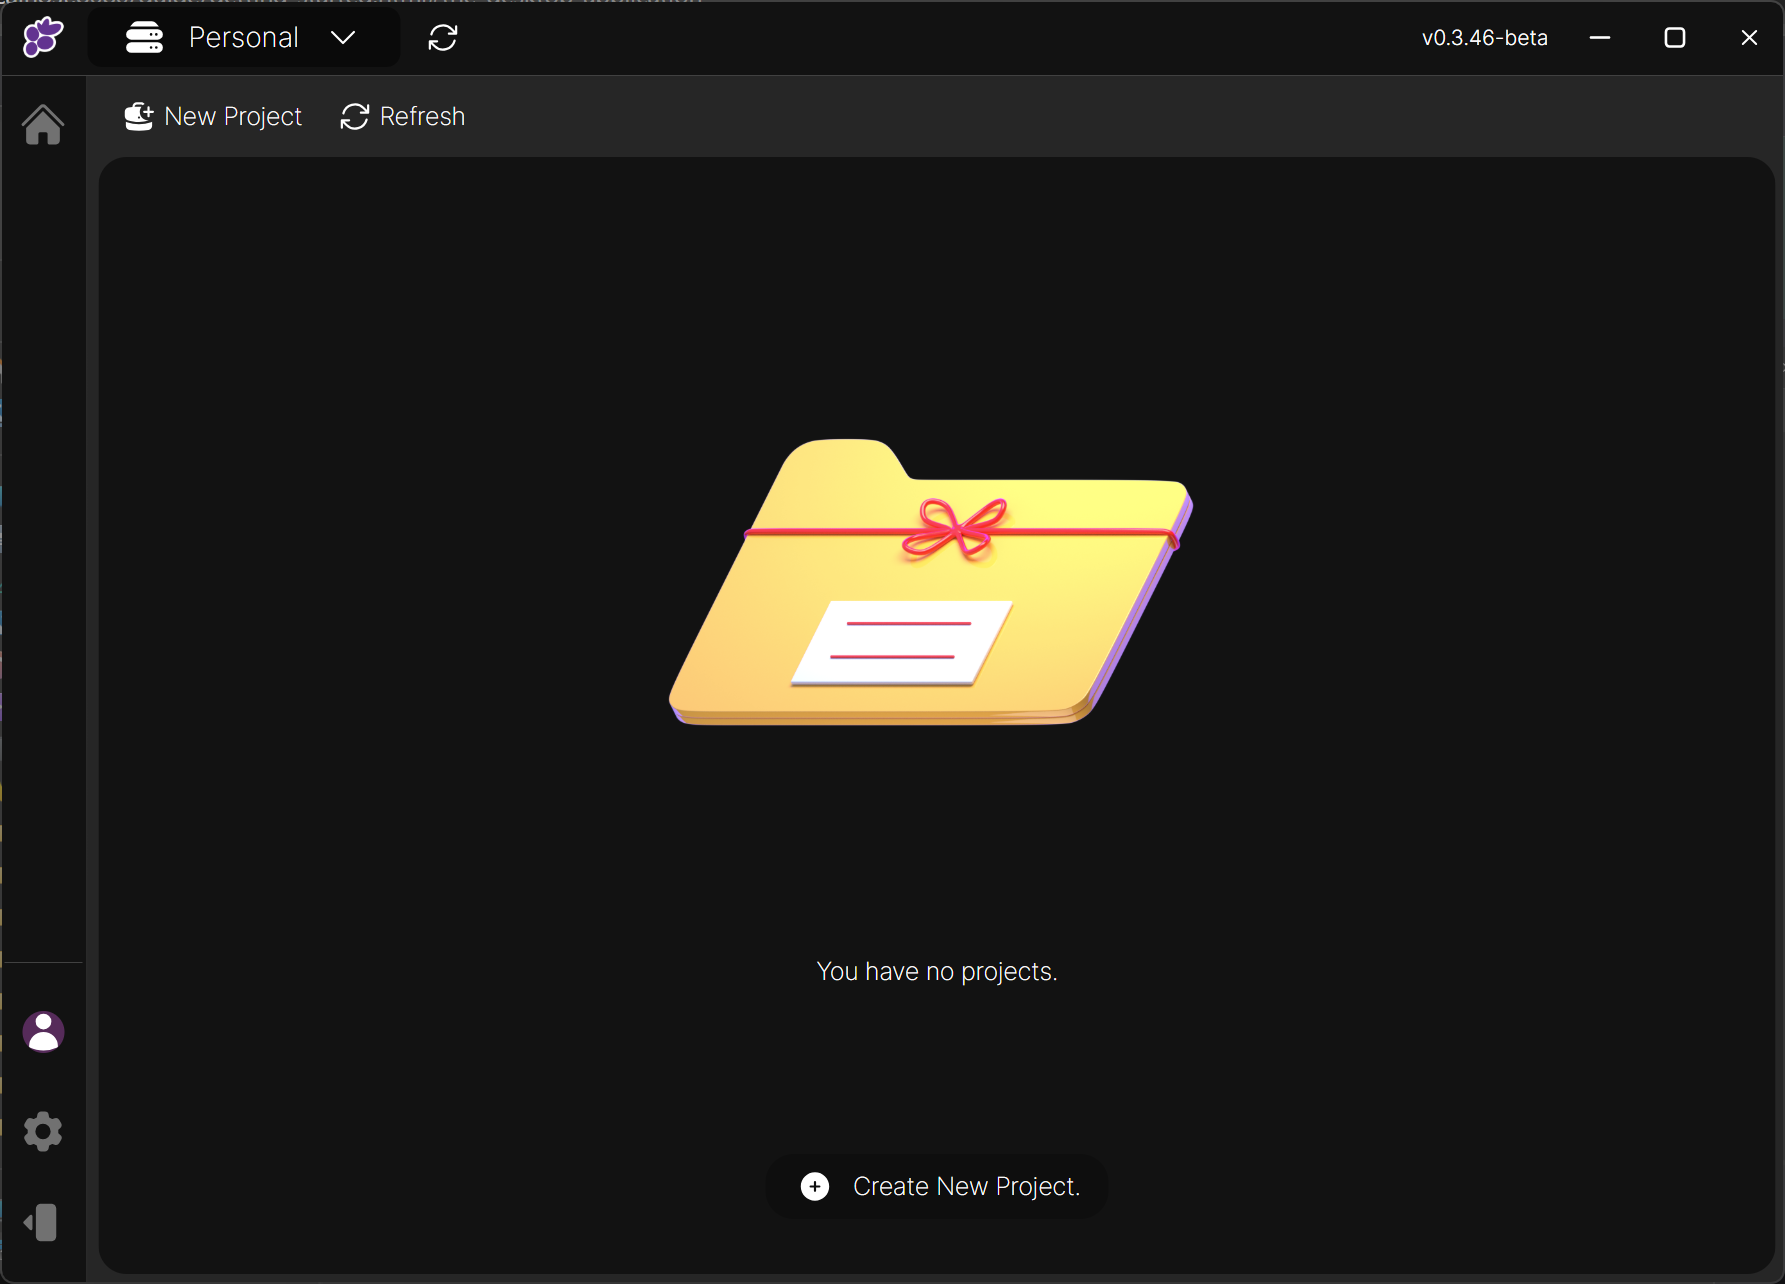
After logging in, you will be directed to a Personal studio with no projects.
Info: The Personal studio
This is the default studio every Clustta user will have. It is your personal space and every work you do here remains locally on your computer.
If you have access to another studio - whether created by yourself or you were added by another person, you can switch.
Tip: Switching studios
You can switch Studios by clicking on the dropdown labeled Personal at the top left corner next to the Clustta logo.
You can proceed to the next section to create a project and work with your files.